


RC 1/16 Tamiya Tiger I, track tensioner help
 06-13-2024, 05:48 PM
#1
Hi,
I’ve recently got my Tiger operational, but need some help to better understand the Tamiya track tensioner system before I drive it more.
1. The Tamiya instructions say to adjust the track tension, by turning the adjustment screw under the tank.
is that all that is required? Or is there some way of securing your adjustment setting?
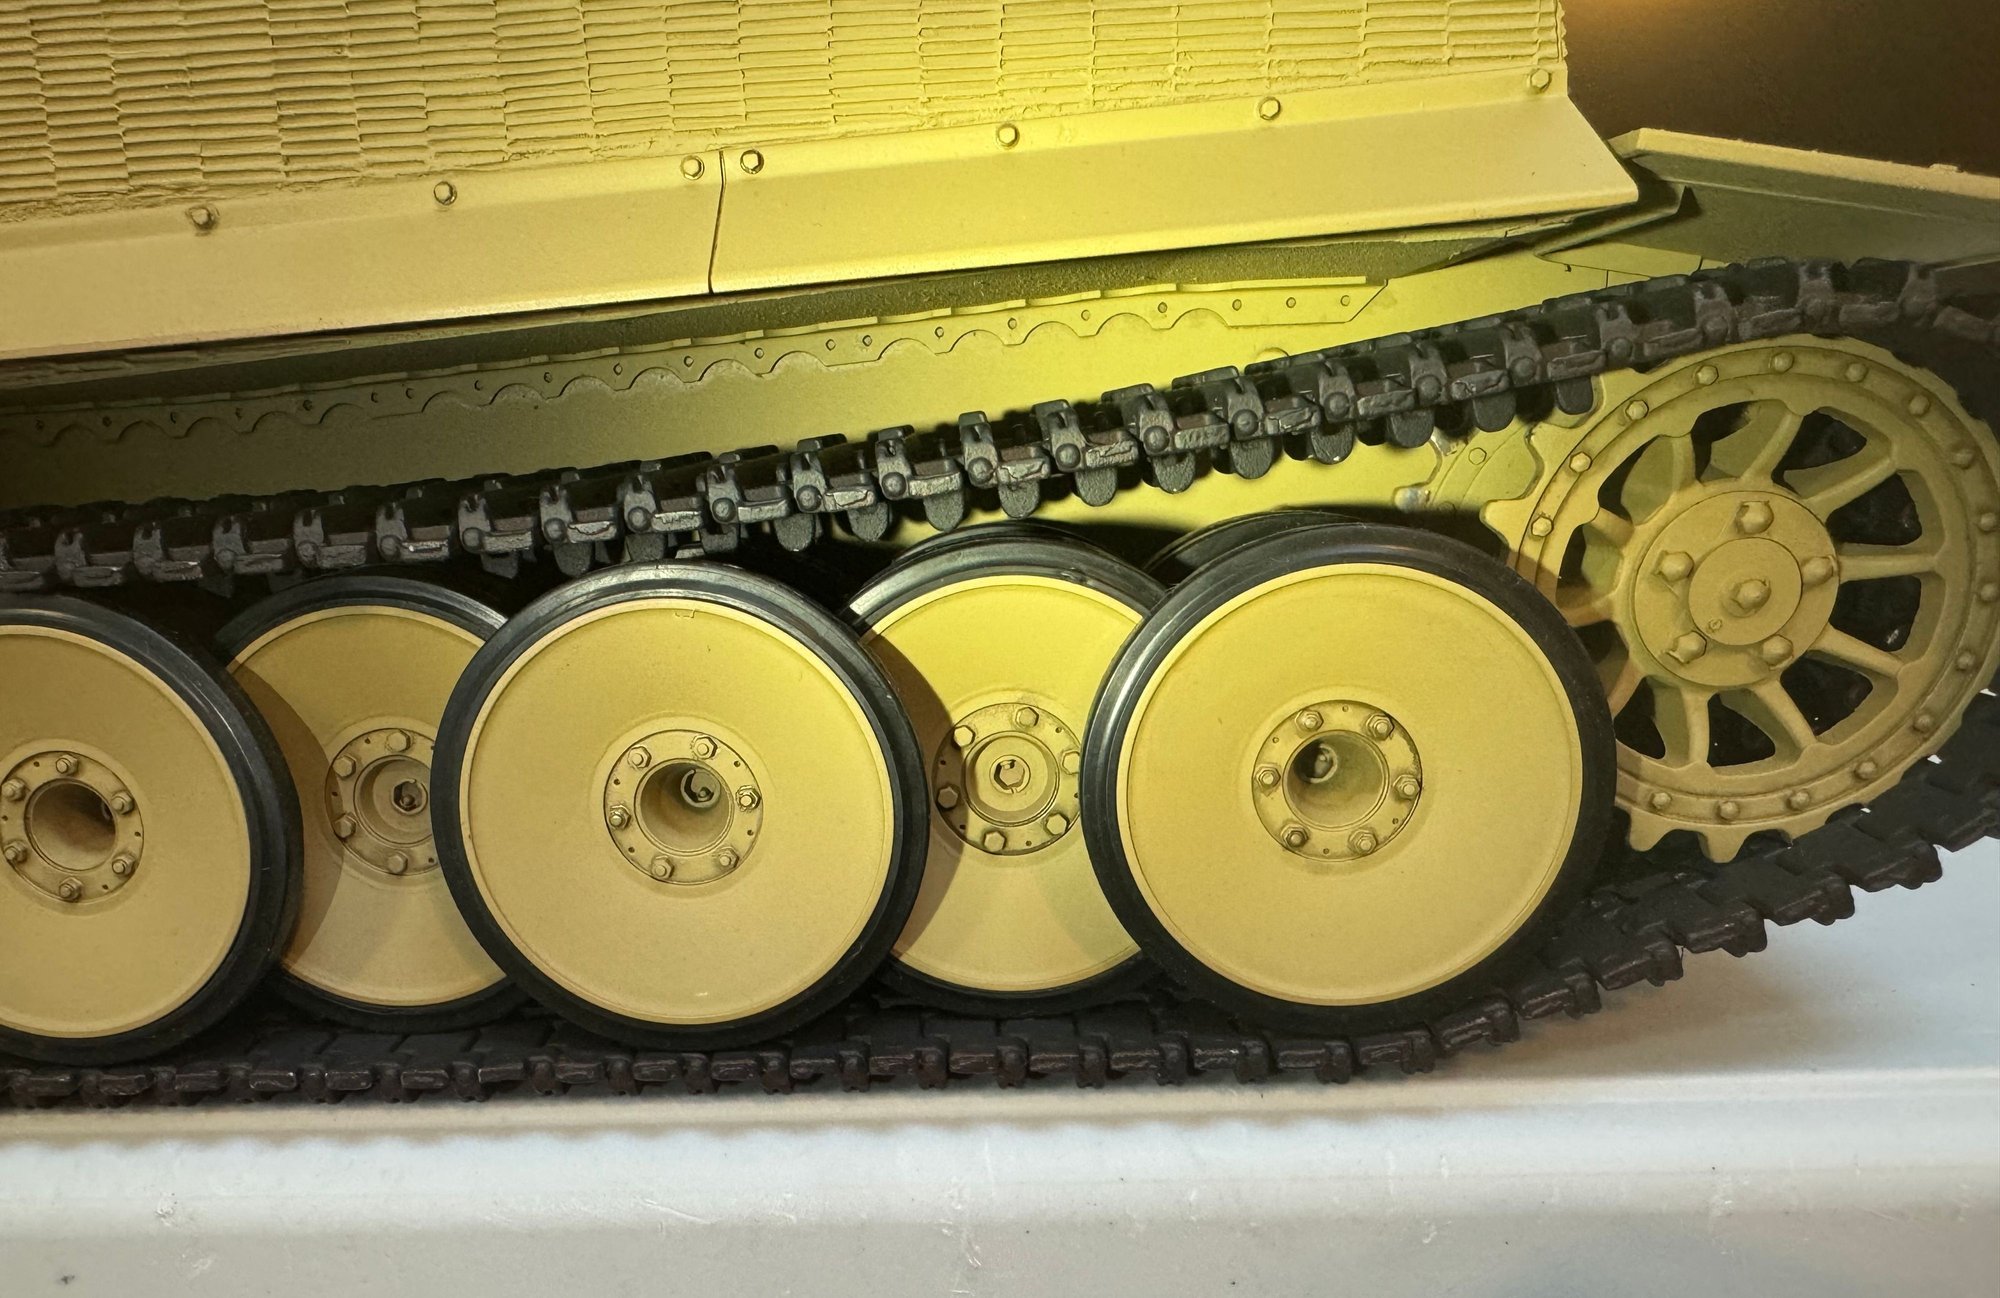
2. I have Impact metal tracks … what does the proper tension look like from side view? Bottom of track tooth level with top of second road wheel rubber?
Thanks Dave
I’ve recently got my Tiger operational, but need some help to better understand the Tamiya track tensioner system before I drive it more.
1. The Tamiya instructions say to adjust the track tension, by turning the adjustment screw under the tank.
is that all that is required? Or is there some way of securing your adjustment setting?
2. I have Impact metal tracks … what does the proper tension look like from side view? Bottom of track tooth level with top of second road wheel rubber?
Thanks Dave
 06-16-2024, 11:58 PM
#2


Track tensioning is a mix between the right amount of Links in a Track and the tension of the Tensioner - Add / Remove Track Links to do the rough adjustment, use the Tensioner for the fine adjustment.
The official Manual mentions a 4 Finger Gap between the inside of the Track and the top of the first Road Wheel - Divide that by your Scale.
I'd loosen Tension as much as possible, remove Track Links as necessary and readjust the Tension again to meet the above description - This way you'll get the largest amount of Track Tensioning Range as the Track stretches over time.
Though at the end of the day you may have to go with something else entirely because things usually work ever so slightly differently at 1:16 than they do in 1:1 since usually ppl don't drive their models in 1:16 scale Terrain 😉
Last edited by Durahl; 06-17-2024 at 12:02 AM.
The following users liked this post:
dsbc (06-18-2024)
06-18-2024, 04:58 AM
#3
Hi Durahl,
Thanks for the info and advice.
Link to the official training manual was helpful … and interested to read about Elvira (the cartoon character) included in the manual, to help capture the men’s attention, while learning.
Looks like my track tension is too tight, compared to that rule, so I’ll back it off a bit.
It’s almost at the end of tightening travel, so I should have lots of room travel for the adjustment, without removing any links.
Good thing cause the Impact track pins took a lot of force to seat.
i should have taken more time to do it a better way.
i just used a large pair of pump pliers … which slightly scuffed the track edges, while compressing the pins in.
i was hearing some strange light grinding noise occasionally when the track tension was much less tight, but could be unrelated.
Thanks
Dave
06-18-2024, 06:22 PM
#4
I took some tension out of the tracks, so that the tracks are about touching the second road wheel.
Seems to run well.
I’m not sure if there is enough weight, at this scale, to get the track to fall onto the first road wheel.
Also, think the slight grinding sound I heard was from some track teeth catching a bit on the sides of the road wheels when reversing. Maybe just a break in period thing?
Seems to run well.
I’m not sure if there is enough weight, at this scale, to get the track to fall onto the first road wheel.
Also, think the slight grinding sound I heard was from some track teeth catching a bit on the sides of the road wheels when reversing. Maybe just a break in period thing?


